| Before |
|
After |
 |
|
 |
| |
|
|
 |
 |
 |
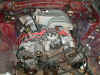
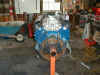
| Engine
in donor car |
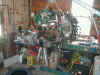
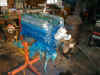
Pulled
Dirty Engine and Tranny |
I
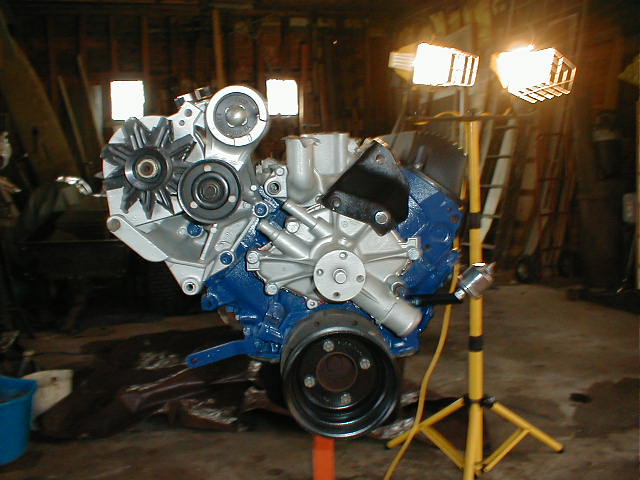
originally sprayed the block with ford blue, and after
puking at the baby blue color, I repainted it ford dark
blue. It looks much better, even if it isn't the real
Ford blue. |
 |
 |
 |
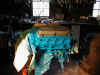
| a
look at its insides |
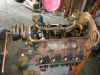
another
(big files) |
All
Looks good in here! |
 |
 |
 |
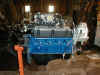
| Ford
dark blue |
sandblasted
and painted water pump goes on next. Don't forget gasket
sealer on the water pump side and timing cover side. |
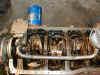
Next
came the lower intake. This is sealed with four gaskets
and gasket maker in the corners and along the middle
front and back sections of the intake. I have heard that
people don't use the two middle gaskets (front and back)
and instead run a thick bead of gasket maker, but I
figured it couldn't hurt and I did not want to run the
risk of putting on too much or not enough rtv. |
 |
 |
 |
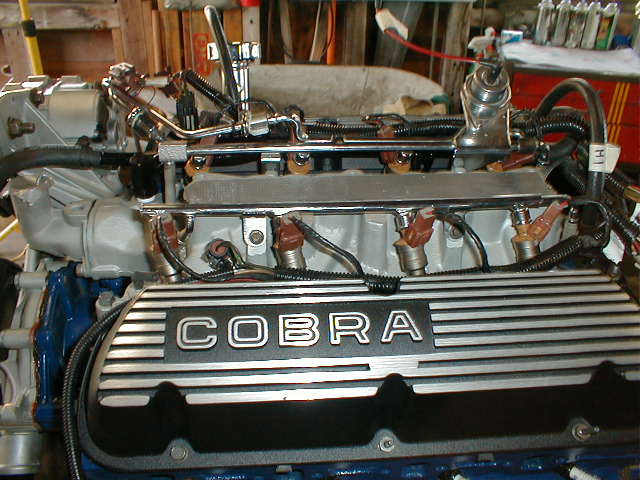
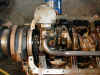
| Next
came the accessory bracket, alternator, and tensioner. A
few bolts and that's done. I also put on the cobra valve
covers because they look so sweet. Drop the gaskets in
and torque down the bolts. Well, there is a small
problem. THe stock bolts are too long! You can either
use some washers as spacers, or, like I did, go to your
local hardware store and buy 12 new bolts that are just
a little shorter. All twelve only cost me $1.25. |
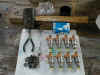
Some
of the fuel injector o-rings were ripped when I took
them out so they were replaced. I bought a $12 set from
the local auto store. It comes with 16 o-rings, 8
plastic washers, and 8 caps. Its an easy job that's
better to do now while there out. The trick to getting
the old caps off is to find a spanner wrench that barely
fits around the injector bottom and pry them off from
underneath. Watch out, they go flying! To get the new
ones on hit them lightly with a rubber hammer. |
Lube
the tops and bottoms of the injectors with clean motor
oil and drop them into the intake. I also attached the
black heater pipe and the hose loop at the end (napa:#10743) |
 |

|
 |
| Next
put the fuel lines on and snap them onto the injectors.
Its a little tricky but it eventually works. Don't
forget to screw the lines back into the intake in the 4
spots because its much easier now then when the wiring
harness is on... |
...speaking
of the wiring harness, the next step is to drop that on
and connect everything up.
|
Now
your ready to add the upper intake and finish up. Put
down a gasket and screw it on. |
 |
|
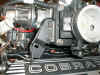 |
| Here's
a pic from the front |
The
stock throttle bracket hits the taller cobra valve
covers so it needs to be modified. While I was at it I cut out all the cruise control stuff because I won't be
needing that. The picture shows where I cut and
everything on the right side of the pic is what I got
rid of.
|
here
it is installed. Its hard to tell but there is about
1/2" clearance between the bottom of the bracket
and the top of the valve cover. |
 |
|
|
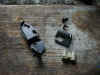
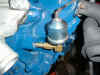
| This
vacuum fitting also hits the valve covers. I unscrewed
it from the plenum and used the bench grinder to make it
fit. |
When
I went to put the headers on backwards, I noticed that
the oil temp sender hit the header and I couldn't rotate
it out of the way like the manual suggests. So I went to
home depot and made a new L shaped connection that gives
much more clearance. Check out the costs
page for the parts.
|
Here
it is installed. Notice the clearance for the headers
|
 |

|
|
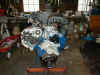
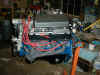
| Here
is the completed engine minus a few wires. |
I
finally got my motor mounts today from summit. They are
moroso solid mounts. I ordered the wrong ones by
accident so I had to exchange them, hence the delay. |
|